Overview of Temporary Tattoos
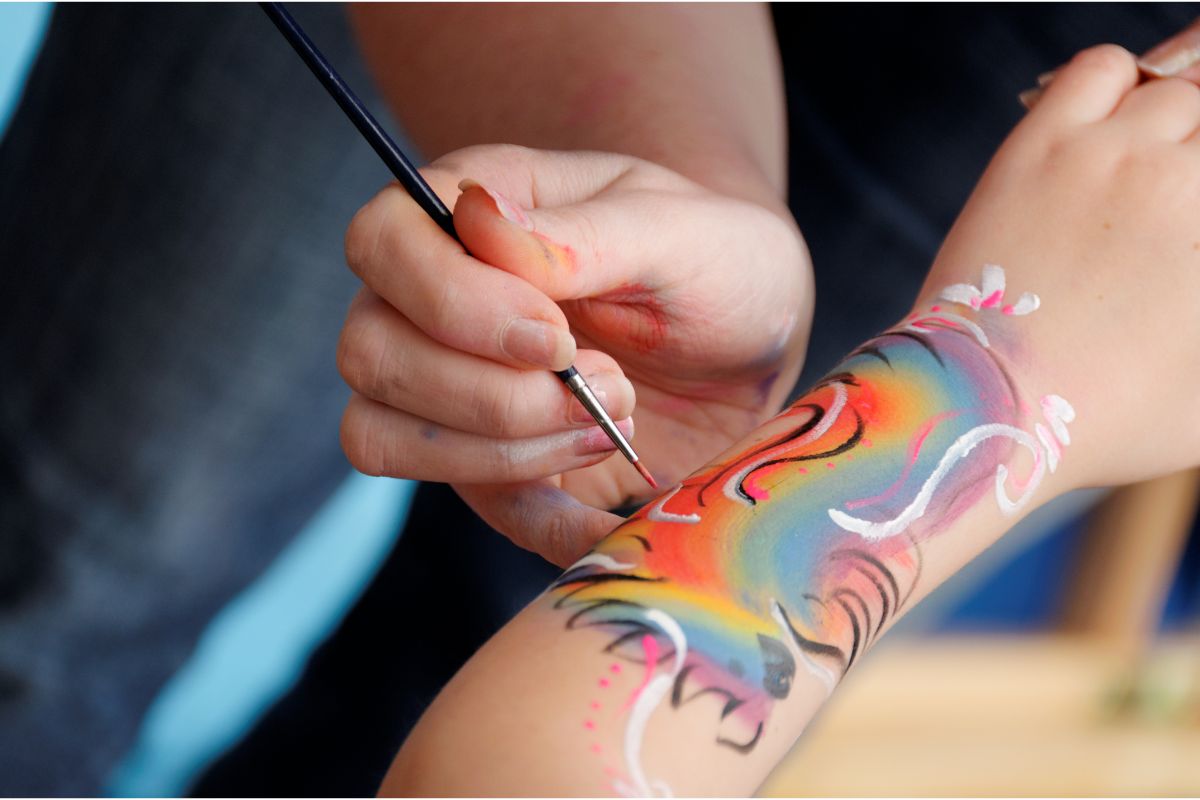
Temporary tattoos are non-permanent body art designs that provide a fun and versatile way to express oneself. Made from safe, skin-friendly materials, these tattoos offer a temporary alternative to permanent ink. They come in various styles, sizes, and designs, ranging from intricate patterns to popular characters. Application is simple, often involving wetting the tattoo and pressing it onto the skin. Temporary tattoos can last for a few days and are easily removable with water or rubbing alcohol. They are popular among people of all ages, serving as a fashion accessory, a form of self-expression, or a temporary experiment with body art.
What Materials Can Be Used to Create Temporary Tattoos with a Cricut
Various materials can be used to create temporary tattoos with a Cricut machine. Here is a list of some common options:
- Printable Tattoo Paper: This specialty paper is specifically designed for temporary tattoos. It typically comes in sheets that can be loaded into a regular inkjet printer, allowing you to print your desired designs directly onto the paper.
- Tattoo Transfer Sheets: These sheets consist of a thin, transparent film with an adhesive backing. You can cut out your designs using a Cricut machine and then apply them to your skin by removing the protective backing and pressing the tattoo onto the desired area.
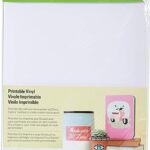
- Temporary Tattoo Vinyl: Vinyl sheets can be used to create custom temporary tattoos. The Cricut machine can precisely cut out intricate designs from the vinyl, which can then be applied to the skin using transfer tape.
- Stencil Film: Stencil film is a popular option for creating temporary tattoos with an airbrush technique. The Cricut machine can cut out stencil designs onto the film, allowing you to create detailed and precise temporary tattoos.
- Adhesive Vinyl: While not specifically designed for temporary tattoos, adhesive vinyl can be used to create unique and colorful designs. These vinyl tattoos can be applied to the skin using transfer tape, and they generally last for a shorter duration compared to other temporary tattoo options.
Remember to always follow the manufacturer's instructions and conduct a patch test before applying any materials to your skin to ensure safety and compatibility.
How to Make a Design for Your Temporary Tattoo
Creating a design for your temporary tattoo can be an exciting and creative process. Here is a step-by-step guide to help you make a design for your temporary tattoo:
- Choose a Concept: Decide on the theme, style, or image you want for your tattoo. Consider elements like symbols, words, or illustrations that represent your desired design.
- Sketch or Use Software: If you're skilled at drawing, sketch your design on paper. Alternatively, you can use graphic design software like Adobe Illustrator or Canva to create a digital design.
- Size and Placement: Determine the size and placement of your temporary tattoo. Consider the area of your body where you want to apply it and adjust the design accordingly.
- Clean Lines and Bold Colors: When designing for a temporary tattoo, keep in mind that bold, clean lines and vibrant colors work best. Avoid intricate details that may not transfer well.
- Test Print: Before printing on the actual tattoo paper or material, do a test print on regular paper to ensure the design looks as expected. Make any necessary adjustments to size or clarity.
- Print or Cut: If using printable tattoo paper, load it into your printer and print your design onto the appropriate side. If using a cutting machine like a Cricut, import your design into the software and adjust the settings for cutting.
- Apply the Tattoo: Follow the instructions provided with your specific tattoo material to apply the temporary tattoo to your skin. This usually involves cutting out the design, removing the protective film, and pressing it onto your desired area.
Remember to have fun and experiment with different designs until you find the perfect one for your temporary tattoo!
How do I transfer the Design onto Skin?
Transferring your temporary tattoo design onto your skin is a crucial step to achieve a successful and long-lasting result. Here's a step-by-step guide on how to transfer your design onto the skin:
- Clean and Prep: Start by thoroughly cleaning the area of the skin where you want to apply the tattoo. Make sure it's free from oils, lotions, or any other substances that might interfere with the transfer.
- Cut Out the Design: Use scissors to carefully cut out your design from the tattoo paper, transfer sheet, or stencil film. Leave a small border around the design to ensure a clean transfer.
- Position the Design: Place the design face down onto the desired area of your skin. Ensure it's positioned exactly where you want it.
- Apply Pressure: Using a damp cloth or sponge, gently press and hold it over the entire design. Apply consistent pressure for around 30 seconds to a minute. This helps the ink or adhesive to transfer onto the skin.
- Peel Off: Slowly and carefully peel off the tattoo paper or transfer sheet. Check if the design has fully transferred onto the skin. If any parts haven't transferred, place the paper back down and apply more pressure.
- Let it Dry: Allow the transferred design to dry completely before touching or covering it. This usually takes a few minutes, but follow the instructions specific to your tattoo material.
- Seal and Protect (optional): To enhance the longevity of your temporary tattoo, you can apply a thin layer of clear, water-based sealant over the design. This helps to protect it from rubbing off or fading prematurely.
Remember to follow the specific instructions provided with your tattoo material for the best results.
Benefits and Drawbacks of Using a Cricut for Making Temporary Tattoos
Using a Cricut machine for making temporary tattoos offers several benefits, but it also comes with a few drawbacks. Here are the advantages and disadvantages of using a Cricut for creating temporary tattoos:
Benefits:
- Precision: The Cricut machine allows for precise and intricate cutting, resulting in clean lines and accurate designs for your temporary tattoos.
- Versatility: With a Cricut, you have the flexibility to create custom designs, experiment with different sizes and styles, and personalize your temporary tattoos according to your preferences.
- Time-saving: The Cricut's automated cutting process saves time compared to hand-cutting each design individually. It enables you to produce multiple tattoos efficiently.
- Professional finish: The clean and precise cuts achieved with a Cricut give your temporary tattoos a professional and polished appearance, enhancing their overall quality.
Drawbacks:
- Limited materials: While a Cricut can handle various materials, the options for temporary tattoos are more limited compared to specialized tattoo paper or stencils. The available materials might not provide the same longevity or ease of application.
- Learning curve: Using a Cricut machine requires some learning and practice to understand the software, settings, and correct techniques for cutting and transferring designs onto the skin.
- Additional equipment and supplies: Making temporary tattoos with a Cricut may require purchasing specific tattoo paper, transfer sheets, or stencil film, which can add to the overall cost and require additional storage space.
- Potential for errors: Mistakes in design positioning, cutting, or transferring can occur, especially for beginners. It's important to double-check and test the process before applying the tattoo to the skin.
Considering these factors, a Cricut machine can be a valuable tool for creating temporary tattoos, offering precision, versatility, and time-saving benefits. However, it's important to weigh the limitations and potential learning curve to ensure it aligns with your specific needs and preferences.
How Should You Care for Your Temporary Tattoo After It Is Applied
After applying a temporary tattoo, proper care is essential to maximize its lifespan and appearance. Here's how you should care for your temporary tattoo:
- Avoid excessive moisture: For the first few hours after application, avoid activities that involve excessive sweating, swimming, or prolonged exposure to water.
- Gentle cleaning: When cleaning the tattooed area, use mild soap and water. Gently pat dry with a clean towel instead of rubbing.
- Avoid oils and lotions: Refrain from applying oils, lotions, or creams directly on or around the tattooed area as they can cause the design to fade or blur.
- Protect from friction: Avoid tight clothing or accessories that may rub against the tattoo and potentially cause it to peel or fade prematurely.
- Avoid picking or scratching: Resist the urge to scratch or pick at the tattoo, as it can damage the design or cause it to peel off unevenly.
- Skip harsh chemicals: Stay away from harsh chemicals, exfoliants, or alcohol-based products that can degrade the tattoo.
By following these care instructions, you can help your temporary tattoo maintain its vibrancy and longevity throughout its lifespan.
Closing Thoughts on Creating Temporary Tattoos with a Cricut
In conclusion, using a Cricut machine to create temporary tattoos offers a world of creative possibilities. Its precision cutting allows for intricate designs, and the flexibility to personalize your tattoos is a major advantage. While there may be a learning curve and limited material options, the professional finish and time-saving nature of the Cricut make it a valuable tool. Remember to follow proper care instructions and consider the specific needs of your design and desired outcome. Whether you're experimenting with body art or seeking a temporary expression of self, the Cricut can be a fun and innovative way to bring your temporary tattoo ideas to life.
To find out more about Cricut, please visit any of the following areas:
- How to use cricut infusible ink
- How to make stickers with cricut
- How to make cricut mat sticky again
- How to iron on cricut vinyl
- How to download fonts to cricut
- How to make stencils with cricut
- How to use a cricut
- What is a cricut machine
- How to cut cardstock on cricut
- How to make cake toppers with cricut
- How to put vinyl on cricut mat
- Why is my cricut not cutting
- How to make shirts with cricut
- How to slice in cricut design space
- How to use svg files with cricut craft room
- Why does my cricut keep disconnecting
- How to load cricut mat
- How to curve text on cricut
- How to curve an image on cricut
- How to use cricut card mat
- How to make coasters with cricut
- Why is my cricut power button red
- Why won’t my cricut connect to my computer
- How to calibrate cricut
- How to make stickers with cricut joy
- How to mirror on cricut
- How to do multiple colors on cricut
- How long does a cricut blade last
- How to emboss with cricut
- How to save cricut design as pdf
- Cricut Hat Press: A Comprehensive Guide on Usage - August 13, 2023
- Unlocking Creativity with the Cricut Joy: A Comprehensive Guide - August 12, 2023
- The Ultimate Guide to the Cricut Maker Bundle - August 11, 2023

