Let’s be honest, just having basic, single-colored t-shirts can be extremely boring, which is why so many people often wonder about the best way to transform their boring t-shirts into something completely unique and different.
If you feel you’re getting bored of having plain t-shirts in your wardrobe too, it’s time to make some changes, but how can you do this?
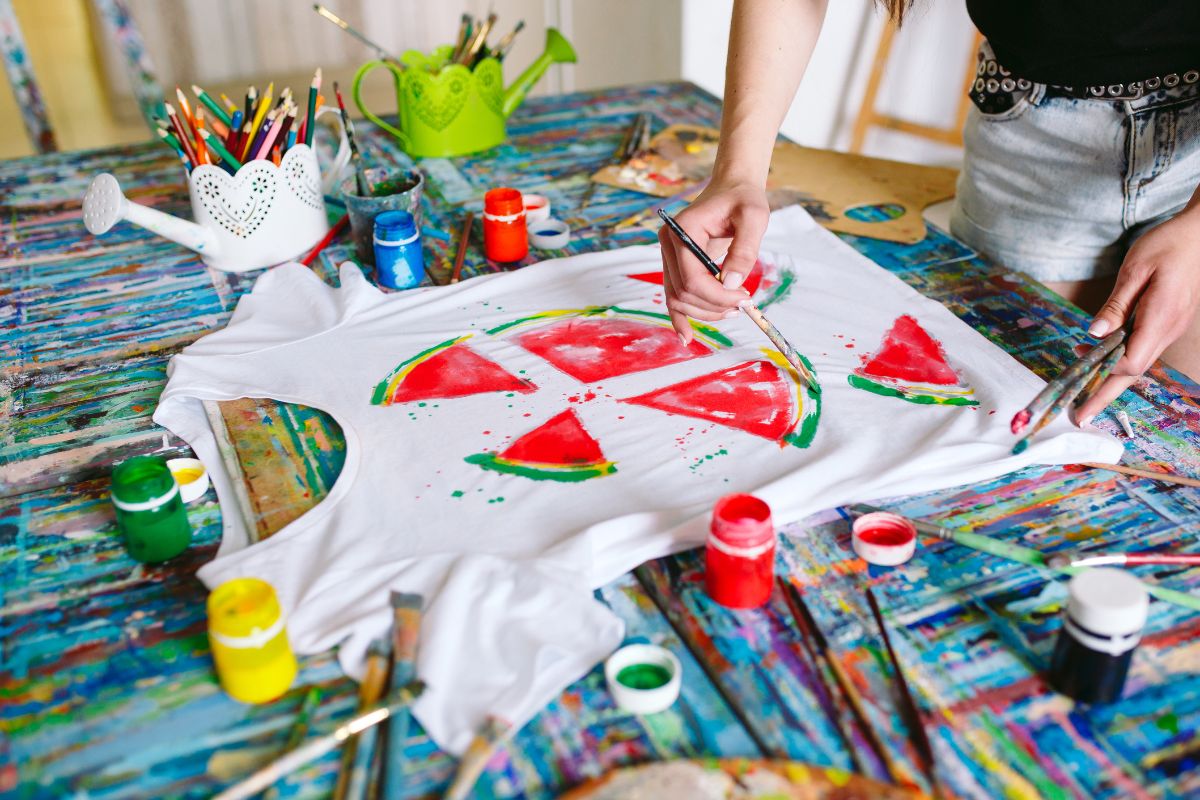
One of the most popular ways to help transform your plain t-shirts into something fun is to paint them!
Some of the most interesting t-shirts often have a load of patterns or designs on them, but why buy something that loads of other people have when you can paint your own unique design and stand out from the crowd?
There are a load of different ways that you can paint your t-shirts, so we’ve chosen three of the best ways to do so, all of which are cheap and easy to do, which means that anyone can do this at home, so find your plain t-shirts out, and get some paint, and get started!
How Do You Paint Your T-Shirts At Home?
There are a whole load of ways that you can customize your t-shirts at home, whether you use stencils, stamping, fabric markers, bleaching, or even tie-dye, how you can colorize your t-shirts is entirely up to you!
For this tutorial we’ve just found three simple methods that allow you to add specific designs to your t-shirt, so we didn’t include any of those previously mentioned methods.
Tutorial 1: Stencilled Mandala T-Shirt
If you want a super easy DIY t-shirt painting method that is going to turn your old boring plain t-shirt into something super interesting in just a few minutes, then this stencilled mandala t-shirt painting idea is a great way to do so.
You’ll only need to gather a few different tools and supplies to make this idea a reality.
Before you start, you will need to make a mandala stencil, which isn’t time consuming, but it’s an important part of making this specific t-shirt design, so before you jump to trying to paint your t-shirt, just make sure you have a stencil first!
If you didn’t want a mancala design, you could always swap the stencil out for a different design, and the painting process will still be exactly the same!
What You Need
T-shirt
Stencil
Stencil brush or sponge (a kitchen sponge will work fine here)
Fabric paint
Masking tape
Plate
Iron
Step 1
To begin, you’ll want to lay your t-shirt on a flat surface, with the side you want to print on facing towards you.
Then, place your stencil onto the t-shirt and make sure that it’s lined up and in the spot you want to print in, and then use the masking tape to secure your stencil in place, which will help to ensure it doesn’t move around whilst you’re painting it.
Step 2
Next, you’ll want to put your fabric paint onto the plate, and then dab your sponge in the paint. It’s important to make sure that you don’t oversaturate your sponge with paint, as it will lead to too much paint bleeding through, which will ruin the design.
You can make sure that your sponge has the right amount of paint on it by testing it on a piece of paper. If you’re unsure, just dab your sponge into the paint and then onto the paper, the paint marks on the paper should be nearly dry.
Step 3
It’s now time for you to begin painting!
Although you’ve already used masking tape to help hold the stencil down, you should still grip it with your fingers near where you’re painting, as this will help to make sure that your stencil doesn’t move around too much, which could lead to your design being smudged or ruined.
Step 4
Press your sponge to the stencil, and begin to apply the paint, moving the sponge in an up-and-down motion to ensure that your pattern is painted evenly, but don’t try to use the sponge like a brush, as this will smudge your design!
Step 5
Once you’ve covered the entirety of your design in paint, you’ll want to allow it to sit still for a couple of minutes, which will allow the paint to seep into the fabric, don’t be afraid to add another layer of paint if you feel like it’s needed, as you’ll want your design to stay on the t-shirt!
Step 6
Now, remove the stencil, and allow the t-shirt another few hours to dry completely.
Step 7
Now for the most important step, you’ll want to turn the t-shirt inside out, and use the iron to iron over the back of the paint, which will help the print set on the t-shirt properly.
Tutorial 2: Fabric Marker Design T-Shirt
We don’t feel like we need to give much of an introduction to this t-shirt design method, as it’s just that simple! Find a design you’d like, and grab some fabric paint pens in colors of your choice, and get drawing it on your plain old t-shirt!
Whether you decide to draw free-drawing the design on the t-shirt, or tracing it from somewhere else is entirely up to you, and how much you believe in your drawing skills, so if you don’t think you’re much of an artist, maybe steer clear of anything overly complex!
So, what are you waiting for? Let’s get started!
What You Need
Tee
Fabric Markers
Pencil
Iron
Brush
Water
Cardboard (One piece)
Step 1
Before we start to paint, you’ll need to make sure that you place the piece of cardboard under where you’ll be drawing your design, so you should put it inside the t-shirt.
If your cardboard isn’t going to be big enough then you’ll need to find a piece of cardboard, otherwise you might ruin the design and the t-shirt!
Step 2
Before you begin to use the fabric markers to draw on your design, it’s always smart to outline the design using a pencil first, which will help to provide you with a guide on where you should begin drawing your design, whilst also allowing you to align your design properly.
If you make a mistake with the pencil, it’s super easy to wash off!
Step 3
Now you can begin painting, using your markers, slowly begin to add color to your design, and if you want to create a particularly cool effect with the color, then you could always use a brush to wet a part of the design, which will help to create a unique watercolor effect!
Step 4
Once you’ve colored in your design, leave it to dry, and then you can begin to use a black fabric marker to outline the edges and more intricate details of the design, which will make it stand out even more.
Step 5
Turn the t-shirt inside out, and then iron the reverse side of your design, which will let the design stick to the t-shirt, allowing you to wash the t-shirt without having to worry about ruining the design!
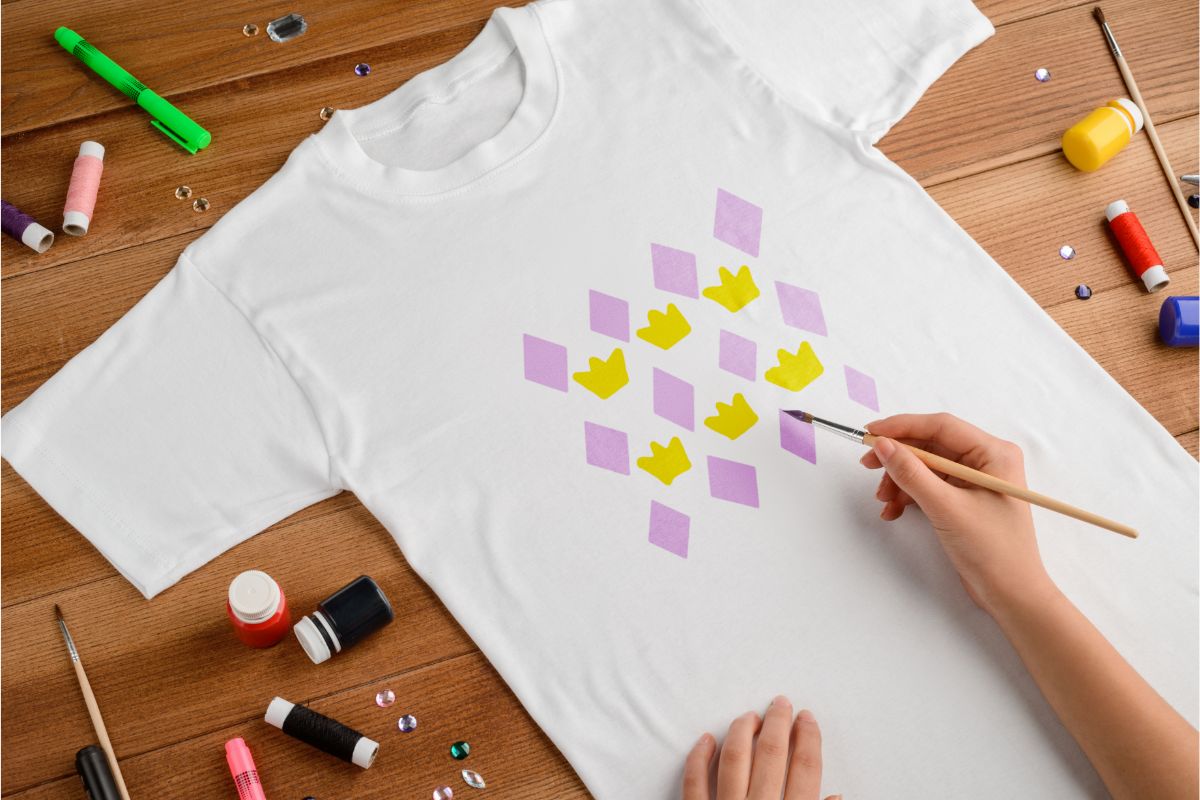
Tutorial 3: Stamped T-Shirt Design
If you want to add a design to a plain t-shirt, then this is probably the fastest way to do so. There’s no need to go out and buy specific stamps though, as you can easily make one at home using a few select materials, including vine corks, foam sheets, or sponges!
What You Need
T-shirt
Sponge
Fabric Paint
Plate
Scissors
Cardboard
Iron
Step 1
Take your sponge and scissors, and cut out the shapes from the sponge that you want to stamp on your t-shirt.
Step 2
Add your paint to a plate, and make sure that you have the colors you want to use for your design. For a more ombre look, you can mix some colors together and add a little bit of water to thin the paint out.
Step 3
Place the cardboard inside the t-shirt.
Step 4
Now, dab the sponges into the paint, and begin to create the design on the t-shirt. Whatever you decide to do is entirely up to you, so the possibilities are endless! It’s a great way of bringing a whole load of color to an otherwise boring t-shirt.
Step 5
Now all you have to do is allow the paint to dry completely, and then you can turn the t-shirt inside out and iron the reverse side of your new print, which means you’ll be able to wash it without ruining your new design.
Tips & Tricks For Painting T-Shirts At Home
There you have it! Three easy ways to turn your boring t-shirts into something new and exciting.
But if you’re having trouble with any of these methods of dyeing your t-shirts, or you’re just wondering if there’s anything you can do to make this process easier, then keep reading, as we’ve compiled a load of tips and tricks to help you print t-shirts perfectly every time!
Check The Material
We know the point of painting old t-shirts is to help upcycle them, but you need to make sure that your t-shirts are a suitable material before you can go and add a design to them.
Typically, the best material t-shirts for you to add a design to are made of either natural linens or cotton. Although you shouldn’t be afraid to experiment with silk, cotton blends, or other compositions either!
Preparation
Before you paint your t-shirt, you’ll also want to make sure that you’ve properly prepared the t-shirt ready to paint them.
To do this, you want to make sure that you’ve washed and dried the t-shirt before you begin to paint it, especially if you’ve bought a new t-shirt specifically to paint, as the color of newer clothes will often run when it’s first washed.
What Paint To Use
If you’re looking for a quick and fun DIY project, you might be tempted to use paints that you have already.
However, we only recommend using fabric paint when it comes to adding a design to your t-shirts, as other paints might not stay on your t-shirt and fabric paint will crack or rub off when you wash the t-shirt.
Painting On Darker Materials
If you want to add a design to a dark-colored t-shirt, you might struggle to add certain colors.
So to make sure that your design transfers over properly, you can always paint the design using white paint first, allowing it to dry, and then draw your design on top, which will allow you to see it much more clearly.
How To Wash Painted T-Shirts
Washing your newly designed t-shirts can be nervy, as you won’t want it to wash away or be ruined, but as long as you iron the reverse side of the t-shirt to allow the fabric paint to set in, then you should be able to wash your t-shirts at 40 degrees in the washing machine.
Summary
We hope you’ve enjoyed our guide to painting your t-shirts at home, as you can see, it’s extremely easy to do, and makes for a great DIY project that will elevate your boring old plain t-shirts, thanks for reading!
Crafts are some of life’s little pleasures, aren’t they? They have the power to transport you to another world for a few hours – it’s just you and the craft.
Hi, my name is Annabel Buser and I love crafts (could you tell?). From knitting to painting, embroidery to weaving, I love trying new crafts out.
What’s not to like? You gain a few hours of peace and self-care, and at the end of it, you’ll have made something gorgeous. My house is covered in my own crafts – and so are my friends and family’s houses!