Pumpkins are a common feature of Halloween and fall decorations. Many porches across the country have jack o’lanterns lining them, but if you’re bored of pumpkin carving and want to do something different, then pumpkin painting might be for you.
You may even have seen some beautiful painted pumpkins splashed across social media and thought that this year, you want to try that for yourself.
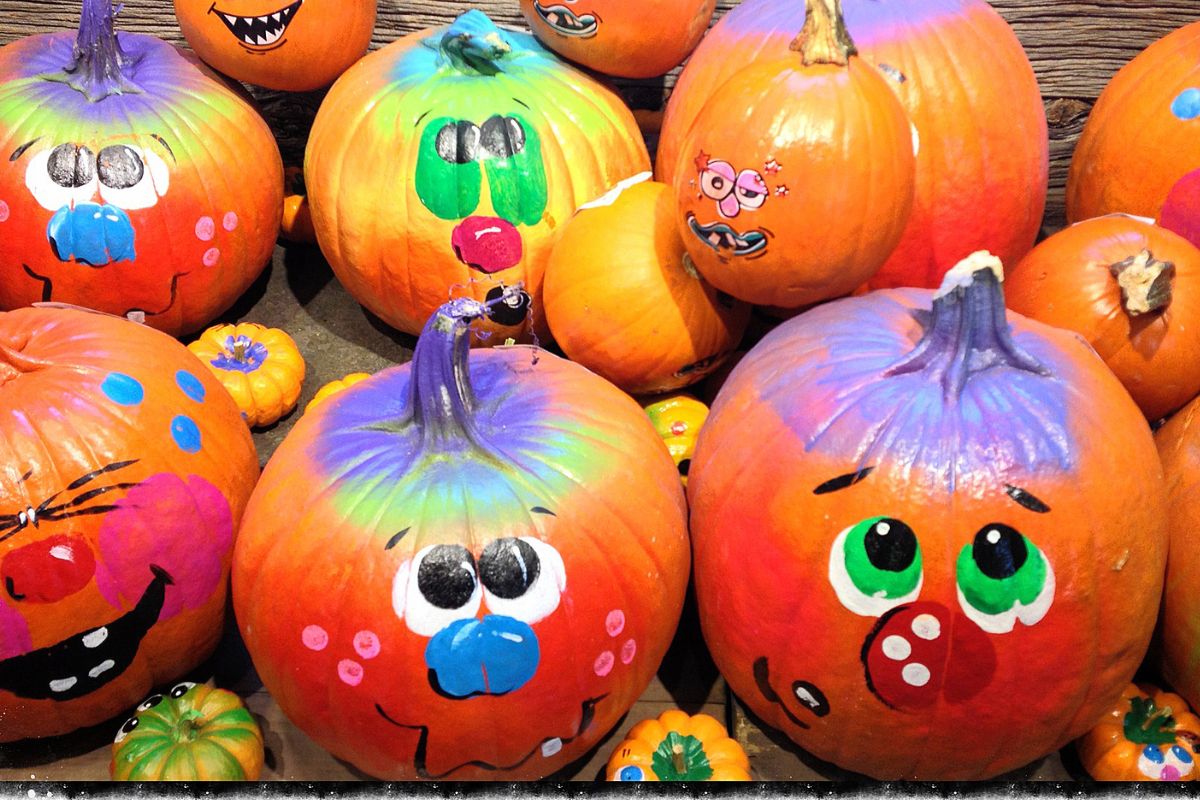
Painting pumpkins can be very fun and produce some beautiful decorations, but thinking of ideas isn’t always easy.
That’s why we’ve created this article to show you some easy and fun painting ideas for pumpkins. We also have some hints and tips to ensure that your pumpkins look their best for as long as they can.
Our first painted pumpkin designs are these super cute and fun pumpkins. The natural shape of the pumpkins make them ideal for donuts and this tutorial makes the process easy.
The first step is to paint your pumpkins in a base color that is reminiscent of donuts. Once this has dried, you can move onto the fun part and paint the frosted tops.
You will need to paint the top third in a frosting color, such as white, brown, or pink. You can choose to paint the stem or remove it, depending on your preference.
When the frosting color has dried, use a small paintbrush or toothbrush to splatter several colors. These become your donut sprinkles!
If you’re looking for a pumpkin painting project to do with kids, then this is the perfect option. It takes advantage of the natural ridges and texture of the pumpkin to create a colorful and random drip effect.
All you need to do is squeeze some paint onto the top of the pumpkin and allow it to run down the sides of the pumpkin. You can build up layers and patterns by using different colors to make a unique design.
The tutorial also has some instructions for using string, ribbon, or washi tape in a similar way and you can combine the two ideas.
This stunning pumpkin will transport you to outer space. It’s a great design for anyone who loves space but is also a beautiful design that is an art piece in its own right.
The tutorial starts with a fake black pumpkin, but you can easily replace this with a real pumpkin that has been painted solid black. Once the black paint has dried, you can start to build up the different layers of color that make the galaxy effect.
A toothbrush dipped in white paint and flicked will give you the randomly placed stars that are scattered around the pumpkin. The finishing touches come from real constellations painted onto the pumpkin.
The tutorial tells you to drill them into the pumpkin, but we wouldn’t recommend this when using a real pumpkin.
This beautifully painted pumpkin can bring some floral elegance to your home or your porch. The flower design will make it suited for decorating any room in the house and it’s sure to be a talking point.
It features a blue base that has been decorated with flowers painted in pink and surrounded with green leaves. A gold pen adds the finishing touches by coloring the stem and adding some writing to the pumpkin.
Everyone loves a Disney princess and Disney characters are one of the more popular characters to dress as for Halloween, so why not combine the two to make a Disney princess pumpkin?
This Little Mermaid inspired pumpkin is easy to make but looks amazing and is sure to be a hit with any kids that come to the porch to trick or treat.
The base of the pumpkin is a shiny teal color that shimmers in the light. This is then adorned with adhesive pearls to simulate the sea waves, and a variety of purple and white sequins. On the top of the pumpkin is a purple bow and fork,
Marbelizing is a great method to make very elegant looking pumpkins that will all have a slight difference in how they look. No matter how many pumpkins you do, none of them will be exactly the same.
The tutorial uses decorative fake pumpkins, but you can use the same method on real pumpkins. All you need to do is switch the nail polish for paint and use the exact same technique to make your pumpkin marbleized.
This is another fun activity to do with kids as it encourages them to make their designs.
Although this is a messy and fun process, the end result looks classy and elegant. These paint splattered pumpkins will look ideal in both your living room and on your porch.
The first step is to paint your pumpkin with a solid color. Light colors will work best and give you more options, but if you’re confident with your color choices you could choose a dark base color.
Once the base color has dried fully, you can begin to splatter the pumpkins. Simply dip a paint brush into a second color and flick the brush over your pumpkin. This should cause the paint to splatter all over your pumpkin in a random pattern.
You may need to do this several times to get good coverage as the shape of the pumpkin means you won’t be able to cover it all in one go.
How To Choose The Best Pumpkins To Paint
There are a few things you should look out for when you’re choosing a pumpkin to paint. You’re going to be putting some time and effort into painting and decorating your pumpkin so you want it to look as good as possible for as long as possible.
One of the most important things to look for is a pumpkin that is nice and fresh. It should feel firm and have a hard skin. Pumpkins with discolored or damaged skin should be avoided, as should any with soft spots, bruises, or scratches.
These marks are a sign that the pumpkin is a little older and if the pumpkin is damaged, you will find it harder to paint.
You should also take a few moments to check the condition of the stem. Look for stems that are around three or four inches long and feel firm to the touch. Make sure that you avoid any pumpkins where the stem is missing, too small, or feels loose.
The stem is one of the first places a pumpkin will start to rot so you need a pumpkin with a stem in good condition.
Best Types Of Pumpkin To Choose
Although you can paint any type of pumpkin you can find in the store or the pumpkin patch, there are some that take paint better than others. If you have the option of choosing your pumpkin variety, then we would recommend choosing one of the following:
Baby Pam
Cotton Candy
Lumina
Neon
Sugar Pie
These pumpkins will work well for any pumpkin crafts you decide to try, whether they’re painting, jack o’lanterns, or anything else.
How To Prepare A Pumpkin To Be Painted
Whether you’re painting a wall or painting a pumpkin, there are a few steps you can take to make the process easier and more long lasting.
Some surfaces can absorb paint whereas others make it difficult for paint to adhere, so preparing your surface is always important and should be done before a single paint bristle touches your surface.
In the case of pumpkins, their exterior is very glossy and smooth so paint struggles to adhere to it properly. This means that unless you’ve prepared the surface, your paint will drip and when dry, can crack or peel.
Thankfully, preparing a pumpkin to be painted is pretty straightforward.
Use a damp cloth or wet wipes to clean the surface of your pumpkin. You should do this lightly as you don’t want to damage the skin. Once you’ve cleaned the pumpkin, carefully pat it dry with some kitchen towels.
You need to make sure the pumpkin is completely dry before you move on. Try to avoid getting either the ends at the stem or blossom wet at all. These are the parts that will rot the quickest and getting them wet will only kick start that process.
Use a primer on your pumpkin. You have a few options as gesso, acrylic ground, or craft sealants will all do a good job. Let the coat dry fully before you start painting. The coat of primer will give your paint something to stick to.
After you’ve painted your pumpkin and it’s dried, you may want to finish with a sealant. This will help your paint last longer as it will prevent the pumpkin from getting scratched. Sealant can also add a nice shine to your pumpkin and can make it look better.
What Are The Best Types Of Paint To Use?
The best paints to use depends on who will be involved in the project. If it’s only adults that will be involved in painting the pumpkins, then the best type of paint to use is either craft or artists’ acrylic paint.
There are a wide variety of colors and effects available in acrylic paint so no matter what design you’re looking to do, there will be an acrylic paint that is perfect.
Spray paints are also a great option for adults to use. You can quickly cover your pumpkin but make sure that you only paint in a well-ventilated area.
When it comes to painting pumpkins with kids, you need to be more careful with the paints you choose. There are some acrylic paints that are non-toxic, but these are still best avoided with kids. Instead, consider using washable paint or activity paint.
These are made with kids in mind so you don’t need to worry about them getting paint on their skin or inhaling any fumes.
What Else Can Be Used To Paint Pumpkins?
As you no doubt saw from our list of pumpkin painting ideas, you don’t just have to stop at paint.
Some of the best and most fun designs are made by combining paint with other craft materials and you can use practically anything to add some extra spice and depth to your designs.
Some of our favorite craft materials for pumpkin decorating include:
If you can think of how to use something and how to use a glue gun to stick it to the pumpkin, then anything can become a painted pumpkin decoration!
Final Thoughts
In this article, we looked at some easy and fun ideas for painting pumpkins. We included some elegant designs that will look great in your living room and some fun ideas that are sure to delight any trick or treaters that come to your porch.
There are so many designs you can use and we hope that one of the designs in this article will get your creative juices flowing.
We also listed several hints and tips for choosing the best pumpkin and making the most of your paint. If you follow these tips, your painted pumpkin should look great and will last for as long as possible.
Crafts are some of life’s little pleasures, aren’t they? They have the power to transport you to another world for a few hours – it’s just you and the craft.
Hi, my name is Annabel Buser and I love crafts (could you tell?). From knitting to painting, embroidery to weaving, I love trying new crafts out.
What’s not to like? You gain a few hours of peace and self-care, and at the end of it, you’ll have made something gorgeous. My house is covered in my own crafts – and so are my friends and family’s houses!