Whether you make a lot of products to sell or are a home hobbyist who just does arts and crafts for pleasure, it is a lot of fun to sit down with friends or family and make candles produced with 100% natural beeswax.
Doing this craft with others is a lovely way to spend time with one another, and it also provides the chance to make candles, which may be sold for a profit or used to collect money for a charitable organization.
There is a vast range of color options and sizes available for candle sheets that are crafted from beeswax.
The square braid wick is the form of wick that is used when rolling beeswax the most often; however, the type of wick that is used is decided by the size of the candle that is ultimately produced.
To get you started, we recommend that you go out and get one roll of wick in each of the following sizes: tiny (size 4.0), medium (size 1.0), and large (size 2.0).
Making candles out of beeswax may be a fun and easy way to get started in the art of candle making. If you want to learn how to make candles, this is a good place to start.
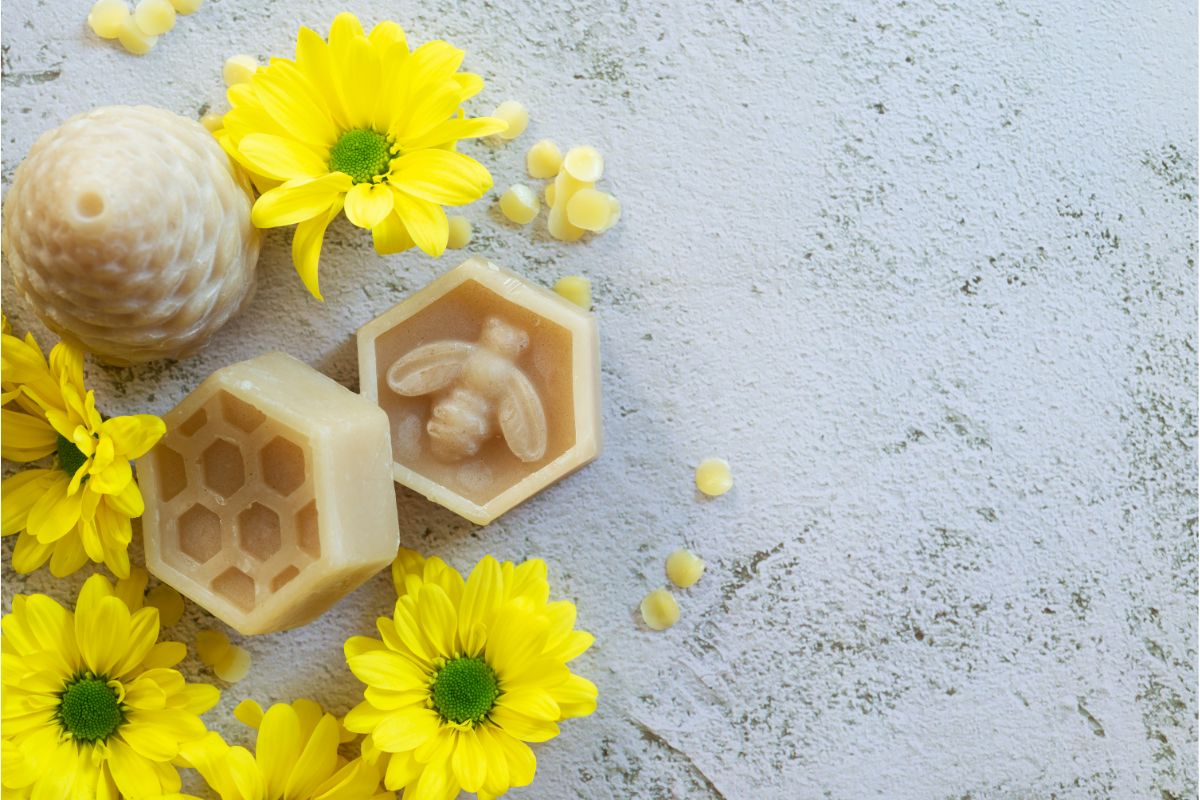
They are both aesthetically pleasing and functional, and they are constructed completely of natural materials.
Candles that are crafted from beeswax not only provide a cozy glow but also fill your home with a sweet aroma.
While making candles can be a bit difficult for first-timers, a beeswax sheet candle is the easiest to make, so even younger kids will have no trouble making these.
Because the wax does not need to be melted, there is no need for a melt pot or burner, which makes this activity completely risk-free and suitable for the entire family to participate in together.
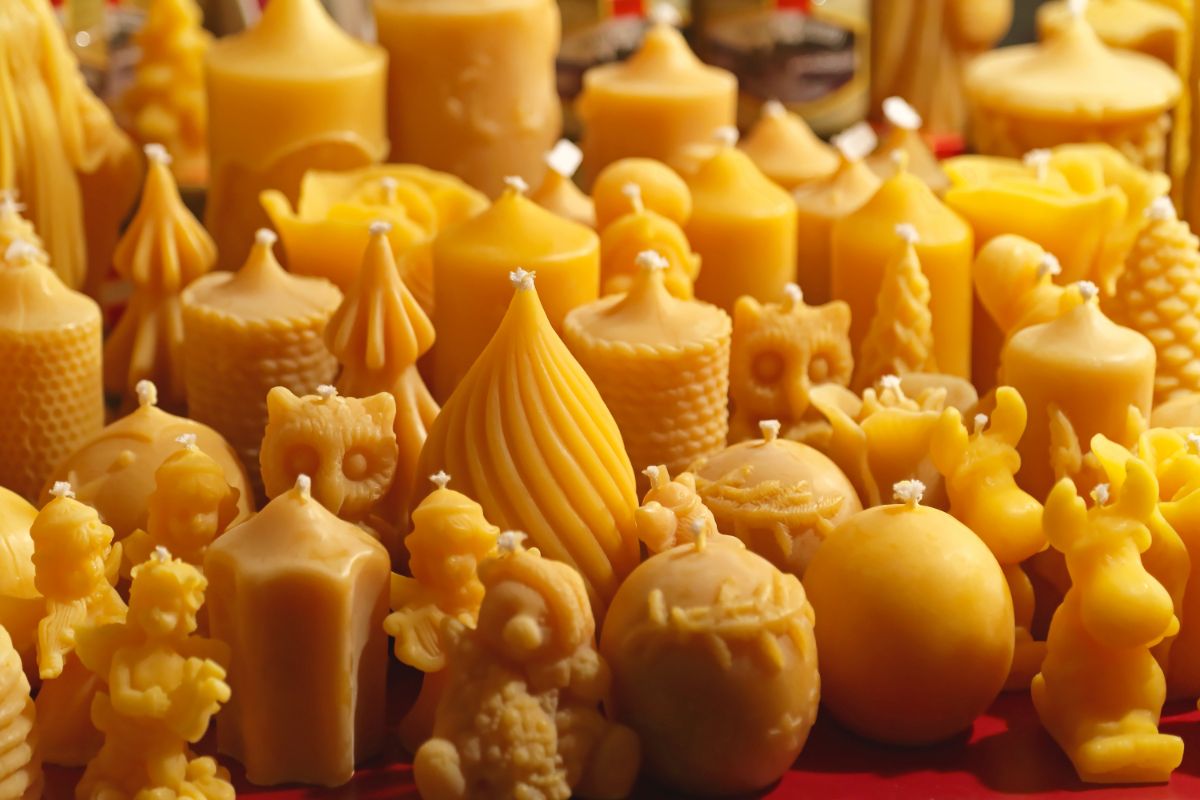
Also, you can experiment with a wide range of colors, sizes, and designs, so this craft can be personalized to your own aesthetic!
Keep reading to get a step-by-step guide on how to make candles with beeswax sheets!
How To Make Candles With Beeswax Sheets
You Will Need
A good surface to cut on – be careful not to damage any tables!
A razor blade or sharp knife
Primed wick – you should get one that is long enough for a 1-inch thick candle
Beeswax sheets – these are typically found in a size that is 8 inches x 16 inches
Making The Candles
1. Cut The Wick
After placing a sheet of beeswax on a surface, trim the wick so that it is slightly longer than the wax by about three-quarters of an inch. If you are working with a sheet that has a width of 8 inches, you should cut the wick to a length of approximately 8 3/4 inches.
A good tip is to ensure that the length of the wick on both sides is at least three-quarters of an inch. In this way, if one end of the candle appears to be more attractive than the other, you may make either end of the candle the top of the candle.
2. Start To Roll The Beeswax
Place the wick along the outer border of the sheet, and begin rolling the candle by first bending over approximately 1/8 inch of the wax. You may completely seal the wick by using this narrow channel.
To ensure that the wax is wrapped securely around the wick, begin at one end of the wick and work your way to the other, pressing down hard down the whole length of the wick. Only at this point should you apply significant pressure with the beeswax sheets.
Turning the wax over and bending the 1/8-inch channel down the corner of the counter or cutting board is a method that may work for you.
Always ensure that the passageway for the wick is clean and unobstructed.
3. Roll The Beeswax Carefully
Once the wick has been firmly pushed into the wax, it is necessary to handle the wax with extreme caution. It is important that you do not squash or distort its honeycomb design.
Gently and straightly roll the candle while paying attention to keep the ends of the candle even.
4. The Finishing Touches
Continue rolling up the sheet until you reach the very end of it.
If you want to make a candle that is twice as thick, you may add another sheet of wax by simply butting a second sheet up to the edge of the first sheet, giving the two sheets a few pushes with your thumbnail to connect them together, and then continuing rolling the candle.
Put some light pressure on the very end of the edge and press it towards the candle. It should generate a rather smooth edge. You can press down with either your thumb or your index finger.
If you left the wick at both ends, choose the one that looks the best to use as the top, remove the wick from the bottom, and trim the wick on the top so that it is approximately half an inch long.
And with that final step, you’re all done! Like the candle to see how it burns and smells.
Extra Tips
After you’ve made your first candle out of beeswax, you may move on to making other products that are variants on the same subject.
To produce a shorter candle, cut the sheet of beeswax in half lengthwise.
To create a skinny candle, cut the beeswax sheet you’re using vertically.
Before you place the wick in a candle made of tapered beeswax, cut the sheet so that it is diagonally oriented.
Combine beeswax of different colors in a single candle for a pretty effect.
Summary
Be enchanted by the warm glow and wonderful aroma of your beeswax candle, or offer your assistance to your children as they prepare the candles they have made to be given as presents.
Try out the step-by-step guide above to see if candle making is the right craft for you!
Crafts are some of life’s little pleasures, aren’t they? They have the power to transport you to another world for a few hours – it’s just you and the craft.
Hi, my name is Annabel Buser and I love crafts (could you tell?). From knitting to painting, embroidery to weaving, I love trying new crafts out.
What’s not to like? You gain a few hours of peace and self-care, and at the end of it, you’ll have made something gorgeous. My house is covered in my own crafts – and so are my friends and family’s houses!