Making paper mache picture frames is an easy and fun activity that is suitable for the whole family. Children will need to be supervised for this craft so it is a great way to spend time together.
It’s also ideal for framing your children’s art work as they can design their own frame and you can make them in whatever size you need.
If you want to know how to make a paper mache picture frame then you are in the right place. We have put together this guide to tell you what you will need and the steps you will need to follow.
What Is Paper Mache?
Paper mache is a type of sculpting material made from strips of paper which are held together by an adhesive mixture. It originated in France and translates to ‘chewed paper’.
The traditional method uses a mixture of flour and water to stick the paper together. Another method is to make a pulp mixture of paper and boiled water which can then be shaped like clay.
The method we will take you through today is a simplified version which is much easier to do with young children.
What You Will Need
To make your paper mache picture frame you will need the following items:
Cardboard – You will need two sheets of cardboard which are a larger size than the artwork you want to frame. Make sure you aren’t using corrugated cardboard.
Glue – For this method you will need paper mache glue powder which you will mix with water, and craft glue for the cardboard.
Scissors – You will need scissors to cut the cardboard.
Ruler – To make sure you cut the cardboard in nice, straight lines, it is best to use a ruler
Pencil – You can use a pencil to mark out the lines on the cardboard that you want to cut around
Paint brush – A paint brush is used to apply the glue mixture to the paper. Don’t use your best painting brush, as it won’t be as good for painting once it has been used for glue.
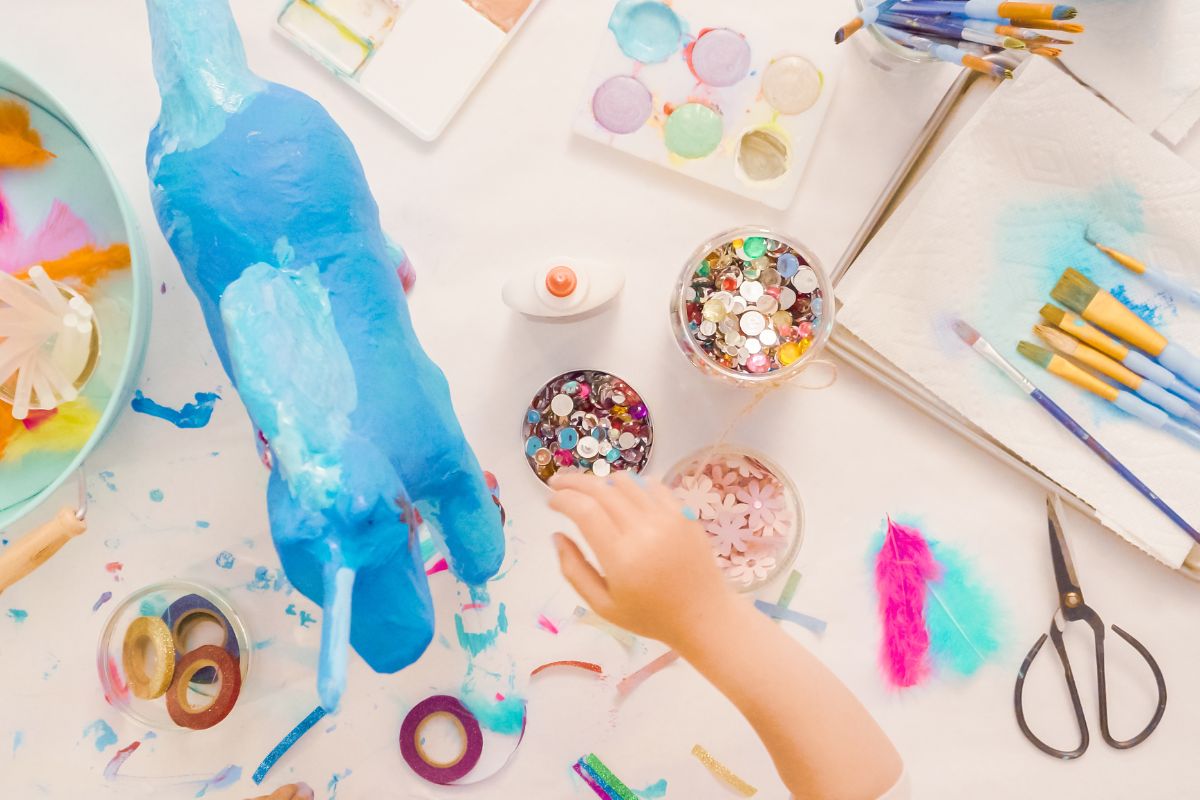
Paper – You can use plain paper if you intend to paint your paper mache picture frame once it is dry. Another idea is to use newspaper or pages of an old book and leave it unpainted. This will give it a black and white effect with words which can be an effective design
How To Make A Paper Mache Picture Frame
Follow these simple steps to make a perfect paper mache picture frame.
Step One
The first step is to make the cardboard base for the frame:
Place your artwork in the center of one of the pieces of cardboard
Use the pencil and ruler to carefully trace around the artwork.
Use a ruler to measure a ¾ inch frame around the artwork, and mark this spot with your pencil at each corner of the artwork. You can make the frame larger or smaller if you want to.
Remove the artwork and use the ruler and pencil to join the dots with nice, straight lines to create a rectangle.
Use the scissors to cut out the shape that you have drawn. This will be the front of the frame – a rectangle with a hole in the middle that is the perfect size to display your artwork.
Step Two
The next step is to paper mache the frame:
Follow the instructions on the paper mache glue powder to mix with water and create your glue mixture
Take the paper that you have chosen to use. Rip it up into strips. They don’t have to be even or uniform.
Lay the frame on some paper or an old tablecloth to protect your work surface from glue.
Take your paintbrush and use it to apply glue to a section of the frame. Work on one small section at a time or the glue will dry.
Place the strips of torn up paper on the glued section of the frame. It doesn’t matter if they poke out at the edges – you can either tuck them around the edge of the frame and stick them down on the other side, or go around the edges afterwards with scissors to make it look neat.
Once the entire frame is covered, paint a layer of glue over the top of the paper.
You can now build up as many layers of paper as you want to create your frame. Make sure that you always start and end with a layer of glue.
When you are happy with how the frame looks, leave it dry (being careful not to let it stick to the paper or tablecloth you are using on your work surface.
Step Three
Whilst the frame is drying, you can move on to the next step:
Take your artwork and place it in the center of your other sheet of cardboard. Use your craft glue to carefully glue the artwork to the cardboard, being careful not to saturate the paper.
When the artwork is stuck down, use your ruler and pencil to measure a ¾ inch frame around it (or whatever size you chose to measure in step one).
Mark the dots with a pencil, then use the ruler to help you join the dots to create a rectangle.
Use the scissors to cut out the rectangle of cardboard.
You should be left with a piece of cardboard the same size as the frame but with the artwork stuck to the middle.
Step Four
You are now ready to assemble the frame:
Once the frame is dry, you can attach the two pieces together.
Spread craft glue over the ¾ inch space around the edge of the artwork.
Carefully line up the paper mache frame, then press it down onto the cardboard base.
Let the glue dry, then you are ready to hang your frame.
Summary
This guide tells you how to make a basic paper mache frame. You can get creative with shapes, sizes and decorations.
Crafts are some of life’s little pleasures, aren’t they? They have the power to transport you to another world for a few hours – it’s just you and the craft.
Hi, my name is Annabel Buser and I love crafts (could you tell?). From knitting to painting, embroidery to weaving, I love trying new crafts out.
What’s not to like? You gain a few hours of peace and self-care, and at the end of it, you’ll have made something gorgeous. My house is covered in my own crafts – and so are my friends and family’s houses!