Are you looking to make glitter candles but aren’t sure how to? Maybe you want to start making gifts for friends and family but don’t know where to start?
Or do you have a candle-making kit that is slowly gathering dust and you want to use it more? No matter what your reason is, we are here with the answers for you!
Making candles can be a relaxing hobby or a way to pass drizzly Saturday afternoons.
Not only will it provide you with a hobby, but it can be a fantastic side hustle too, as more and more of us search for unique, small businesses to shop from.
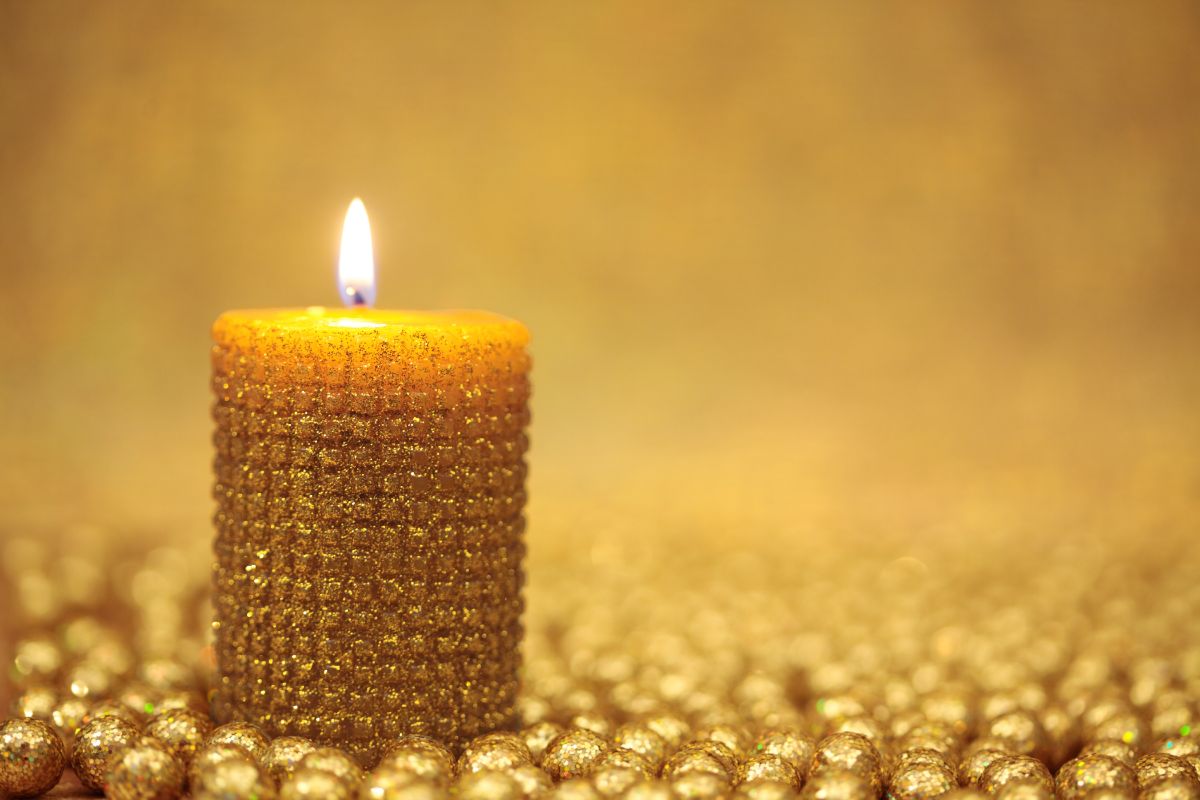
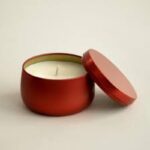
And one thing, we all want, is a glitter candle! These sparkly, scented candles are a wonderful addition to any room, plus they make the perfect gift!
But how do we make them? Figuring this out can be tricky and with conflicting advice online, you can easily find yourself frustrated and overwhelmed, unsure where to turn or who to trust.
Your dreams of a candle-making business seem dashed.
Well, no more! Today, we are here with the answers that you need! Keep reading to find out how you can make glitter candles and everything else you need to know about them!
How To Make Glitter Candles
Let’s get straight into it! Below we have a step-by-step guide you can follow to make glitter candles! This isn’t the only method out there, but it is the easiest one we have found to successfully make glitter candles.
Be sure to follow our steps below, and don’t forget to have all your supplies laid out ready to make the process smoother!
What You Need
To make glitter candles, you will need the following items:
- Soy wax pieces (multiply the number of candles you are making by the amount of wax the holders hold and divide by 20 to find out how much wax you need)
- 4 glass jars (ceramic, mason jars, or other holders work well)
- 8-inch wicks for the number of candles you are making (you can cut longer wicks down to size if needed)
- Glue dots to secure the wick at the bottom of the candle
- Fine glitter (you can choose the colors you want)
- ⅛ cup of light corn syrup
Once you have the supplies, you can get started! Follow the steps below to make your glitter candles today!
Step 1 – Coat The Jars
To start, take the glass jars you are using for your candles. Using a paintbrush (medium-sized works best), paint a light coat of corn syrup to the inside of the jars.
You can experiment here with the technique, such as painting the entire jar, bottom half, top half, or other combinations.
This can be a little fiddly depending on the size and shape of your jar, so don’t worry if it takes you a little while!
Step 2 – Add The Glitter
Next, take your fine glitter and add some to each jar. Pour the glitter in and roll the jar until the layer of corn syrup is covered in glitter.
You can then pour out any excess glitter that has not attached itself to the corn syrup.
You can choose here what color glitter you are using in each candle. Are you using one color or a mixture? Experiment here, adding different colors of glitter to create unique and beautiful candles!
Step 3 – Add The Wick
Once the glitter is in, take your wick and add it to the jar. You will want to secure the wick at the bottom using a glue dot.
Take a straw and use it to press the glue dot into the bottom of the jar. This is the easiest way we have found to secure the dot without getting glue on our hands!
Step 4 – Melt The Wax
You can use a wax melter if you have one, or your microwave! Take your soy wax pieces and melt them.
For those using a microwave, we add the wax pieces to a heat-safe container and allow five minutes per pound of wax in the microwave.
Make sure to check on the wax halfway through to ensure that it is melting properly!
Depending on the wattage of your microwave, you might need to allow 30 seconds to 1 minute longer. Don’t panic if you need to, it is better to melt the wax properly than try and work with hard wax!
Step 5 – Add Essential Oils
If you are creating scented candles, add some essential oil to your melted wax. Allow one ounce of essential oil for every pound of wax. We love adding lavender or eucalyptus to create beautiful-smelling candles!
Once the essential oil has been added, you can pour the mixture into your jars or candle holders.
Fill the jar to the top, or you can leave a little room if you prefer. Experiment with the appearance of the candle, after all, this is your creation!
Step 6 – Leave Them Cool
Leave your candle jars to sit in a dry area for the wax to dry. This can take a few hours depending on how much wax is in the candle jars.
Once the wax has dried, you can trim the wick if necessary so you have enough on top to light with ease.
Step 7 – Sprinkle With Glitter
To finish, you can sprinkle some glitter on top of the candle.
Why not use a template to add a heart or flower to the top? You can skip this step if you want, but it is a fantastic way to use up any excess glitter!
Final Thoughts
And there you have it, seven easy steps you can follow to create beautiful glitter candles!
Whether these candles will be scented gifts for your friends and family or a promising new business venture, we are sure you will enjoy making these candles.
Just be sure to follow our instructions and you are sure to have success!
- Cricut Hat Press: A Comprehensive Guide on Usage - August 13, 2023
- Unlocking Creativity with the Cricut Joy: A Comprehensive Guide - August 12, 2023
- The Ultimate Guide to the Cricut Maker Bundle - August 11, 2023

