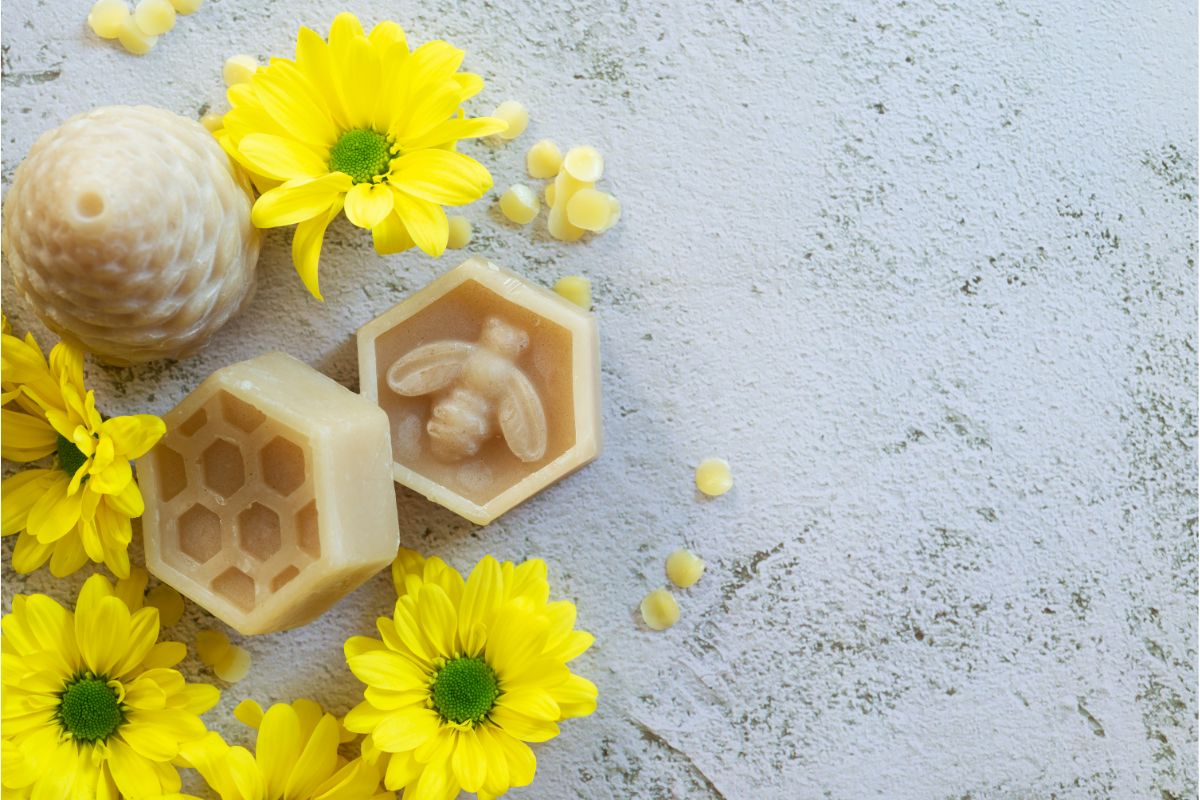
Air-dry clay can be used for all sorts of arts and crafts. Whether you’re a beginner or an experienced crafter you can make home decor, pinch pots, jewelry, and much more!
The beauty of the crafting material is that it doesn’t require an oven or kiln to cure it, as opposed to polymer clay or traditional clays.
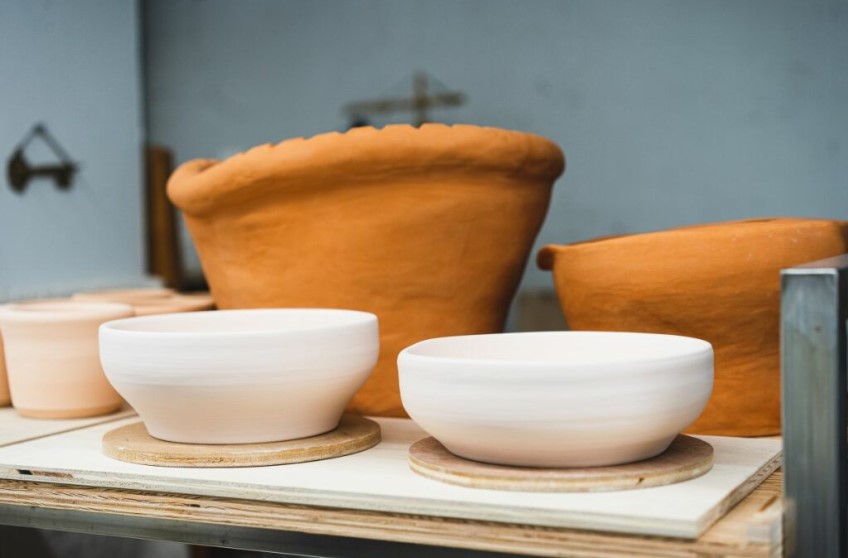
However, as a result, it does require a longer drying time; ranging between 24-72 hours! Undoubtedly, this can frustrate some people, especially if you can’t wait to finish your crafting projects!
Luckily for you, there are a few different methods to speed up this drying process.
With this in mind, this article will explore all the different ways to make your air-dry clay dry faster, with some helpful tips and tricks along the way.
Let’s get straight into it!
How Long Does Air-Drying Clay Take To Harden?
Generally, air-dry clay takes approximately 24-72 hours to dry. However, this can be influenced by a number of factors.
For instance, the thickness of the clay body can impact the drying time dramatically. The general rule of thumb is the larger the piece, the longer it’ll take to dry – with some taking over a week to harden!
Below, you will find some other factors to consider when determining the drying time of your clay.
1. Warm Environment
In dryer climates, your air modeling clay will cure much faster as opposed to colder climates.
However, that being said, if it dries too fast, your clay is at risk of cracking.
Therefore, if your home or environment is too warm, minimize the drying time by covering your piece with a damp cloth or cling wrap.
2. Humid Climates
For those with a more humid environment or home with lots of moisture in the air, then your craft will take much longer to dry – with the moisture preventing your craft from fully drying.
3. General Aspect
As previously mentioned, the thicker the clay, the longer it’ll take to dry. However, this can be counteracted by drying your clay in layers – this also helps to prevent cracks.
Moreover, avoid rolling out your clay too thin for the sake of drying time as this may make it curl.
4. Airflow
Clay that is in contact with a surface or covered in plastic wrap will take longer to dry.
In these instances, the moisture is trapped, preventing drying. To avoid this, occasionally rotate your craft or simply place it on a drying rack.
5. Water
The clay’s water content highly impacts the drying time.
If you’ve used a lot of water while sculpting, not only will this increase the drying time but it will create weaker clay, increasing the chances of cracking.
Can Air-Dry Clay Dry Faster?
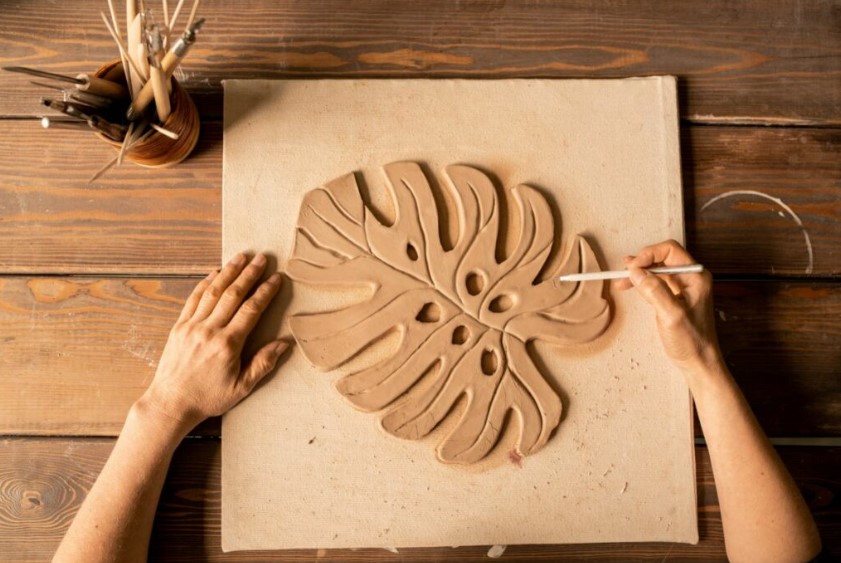
The short answer is yes! You can. However, this isn’t always recommended since you may end up with cracked or distorted projects.
Generally, the best way to dry your clay is on a sheet of wax paper at room temperature while rotating it from time to time.
That being said, not everyone is privileged with hours, or even days, of time to allow their clay to dry. Therefore, if you’re in a hurry, below you’ll find 15 ways to make your air-dry clay dry faster.
1. Use A Hair Dryer
One of the simplest ways to make your clay dry faster is by using a hair dryer. All you have to do is point the dryer at the clay and hold it there for a few seconds until dry.
2. Bake It In The Oven
When using an oven, your clay project will be completely dry in only a few minutes.
Simply follow the instructions on your clay (since different types of clay have different baking instructions).
3. Use A Dehumidifier
Another method is to use a dehumidifier to speed up the drying process.
Essentially, all this does is remove the excess moisture from the air which, in turn, allows your clay to dry more quickly.
4. Use A Heating Pad
If you have a spare heating pad, why not use it to dry your clay faster? All you have to do is place your clay piece directly on the heating pad, then allow it to heat up for a few minutes.
This evaporates the excess moisture found in the clay – speeding up the drying duration.
5. Use A Dehydrator
One of the best methods to dry your clay is by using a dehydrator. If you have one available, simply place your clay project on a tray and switch on the dehydrator.
Essentially, all this does is head the surrounding air around the clay, allowing it to dry faster.
6. Use A Fan
Another method to dry your clay more effectively is by using a fan.
Simply place your clay on a tray and then point a fan toward it. Switch your fan to its highest setting and ensure the motion feature is in place to dry your clay evenly.
After a couple of minutes, you should notice a distinct difference.
7. Using A Heat Gun
If you have one available, a great option would be to use a heat gun. However, when using one, ensure that it is set to a low to medium setting. If too high, you could potentially damage your clay creation.
At an adequate temperature, simply point the gun at the clay – making sure to periodically move it around – in a circular motion.
Keep repeating this pattern until the clay is completely dry. You should keep in mind that different types of clay require different drying times; therefore, take your time!
8. Try Using A Microwave
If you’re looking to dry your clay quicker, try using your microwave.
Start by placing your clay in the microwave for around 30 seconds. From here, you can heat it in increments until your piece has completely dried.
However, when using this method, ensure you keep a close eye on your clay as it can easily overheat and damage quickly.
9. Use Accelerators
There are a variety of accelerators that can be implemented in the process of drying your clay. For instance, Epsom salts can be incorporated into your clay before shaping to decrease the drying time.
Another method is white vinegar. You can either place it in the water you used to mix the clay or paint it directly over the finished piece.
Lastly, you could also use alcohol. Simply take a paintbrush and layer your finished project with the alcohol. The best thing to do is experiment with the different accelerators to find the best method for you.
10. Freeze Drying
If you’re looking to freeze-dry your clay, you’ll need some freezer space and a food dehydrator. Set the food dehydrator to 95 degrees Fahrenheit and allow the clay to dry for 12 hours.
Once complete, place the clay in a Ziploc bag and freeze for a further 24 hours – this is ideal for larger pieces.
11. Clay Desiccant
Another option is to use a clay desiccant to dry your clay if you don’t have access to any other methods.
Before using it, ensure your desiccant is completely dry. Then, place your desiccant into a container, along with the clay, and allow it to sit for 24-48 hours.
12. Rice Drying
If you’re looking to dry smaller pieces of clay, then using a rice dryer is an ideal option.
For this method, all you need is a container and some rice. Place the rice into the container, then cover it with your clay piece.
Since rice absorbs moisture, it will help your clay dry more quickly – just ensure to shake the container once in a while to ensure even absorption.
Keep an eye on your creation, then after 12-24 hours, you should notice it drying.
13. Silicone Mat Drying
If you’re using a silicone mat to dry your clay, simply ensure it is placed on a non-stick surface. Then, place your clay on the mat and allow it to air dry.
Ensure you’re keeping a frequent eye on your project just to ensure that it doesn’t crumble or stick.
14. Clay Gun Drying
Clay guns are an effective method if you’re looking to quickly dry your clay. All you have to do is place your clay in the gun, then squeeze it out.
Using this method, it should take anywhere from a few minutes to an hour for your clay to completely dry.
15. Place It In The Sun
Lastly, one of the easiest, and cheapest, methods is to simply place your clay project in direct sunlight.
Using the power of the sun, the excess moisture in the clay will eventually evaporate leaving you with dry clay in roughly half the average time.
So, make sure to take advantage of those sunny days by setting your clay projects out in the sun to dry.
Air-Dry Clay Tips And Tricks For Best Results
- Keep your clay as thin as possible when using an oven or fan to dry your clay. If it’s too thick, it will take much longer to dry.
- Always keep an eye on your clay. It is easy to burn your clay if not.
- Avoid using the above methods if your clay is semi-dry. This won’t make a significant difference in the drying time, plus, you could damage your clay creation in the process.
How To Know When Your Clay Is Dry?
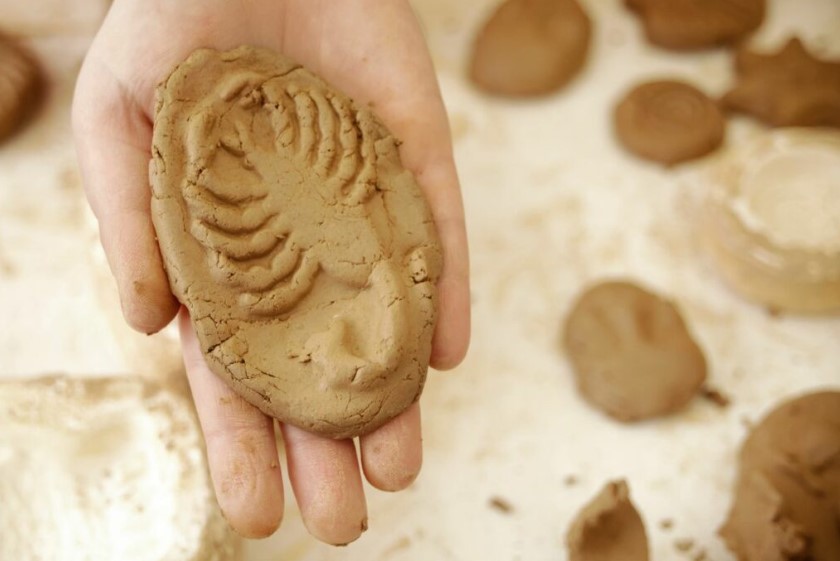
Regardless of the type of clay you’re working with, it is important to acknowledge its water content.
Water is required when working with clay to allow easy shaping and molding. Although, if too much water is left in the clay, it can cause your clay to warp or crack when drying.
On the other hand, if your clay is too dry, it could become brittle and prone to breaking when drying.
Therefore, you may be wondering, how do I know what is the right moisture content? Well, below, we have outlined a few things to look out for.
- The weight of your wet clay – Properly kneaded clay will weigh more than dry clay due to its water content.
- The texture of wet clay – Properly kneaded dough will have a slippery and smooth texture.
- The noise from the wet clay – Properly kneaded dough will produce a squishy noise when squeezed.
- The wet clay’s appearance – Dry clay will look chalky and dull, whereas too wet clay will appear shiny and sticky.
How To Seal Your Air-Dry Clay Properly?
Depending on how you’re looking to use your clay creation, there are a number of different methods you can use to seal your air-dried clay.
If you’re simply looking for a method that will prevent your clay from drying out, using a clear acrylic sealer would be ideal.
On the other hand, if you’re looking for something more durable, then opt for another type of waterproof sealer or even a mod podge.
Moreover, if you want something that’ll create a glossy and smooth finish to your clay, then try an epoxy resin. Below, you will find each method in further detail.
1. Acrylic Sealer
One of the easiest methods to seal our air-dry clay is by using an acrylic sealer.
This ensures that your clay won’t crack or dry out, however, that being said, it doesn’t provide any extra durability.
Therefore, it is an ideal option for those looking to use their clay for decorative purposes.
For this method, all you’ll have to do is coat your clay with a couple of layers of the acrylic sealer and then allow it to dry completely in a cool, dry location.
Make sure to follow the instructions located on the sealer bottle since some require different application methods.
2. Mod Podge
If you’re looking for something that will provide some extra durability, then you can’t go wrong with mod podge.
Mod podge is a variety of decoupage adhesive that is both durable and waterproof – providing your clay with a nice, glossy finish.
To seal the clay, all you have to do is cover it in a thin layer of mod podge and then allow it to dry completely before adding additional layers.
3. Epoxy Resin
For the most protection that provides a glossy finish, then you’ll want to check out the epoxy resin.
This is considered a two-part adhesive that, when cured, becomes hard and waterproof.
When using epoxy resin for your air drying, simply combine equal parts resin and hardener. Then, apply the mixture over your clay and allow it to dry according to the instructions.
Once finished, you’ll be left with a strong, waterproof clay creation.
Final Thoughts
Air-dry clay is a great crafting material for all sorts of arts and crafts. The beauty of the material is that it doesn’t require any firing or heating to dry.
However, as a result, it takes much longer to dry. To combat this, there are many different methods available to help increase the speed of the drying process.
Hopefully, this guide has informed you of all the different methods to help make your air-dry clay dry faster.
- Cricut Hat Press: A Comprehensive Guide on Usage - August 13, 2023
- Unlocking Creativity with the Cricut Joy: A Comprehensive Guide - August 12, 2023
- The Ultimate Guide to the Cricut Maker Bundle - August 11, 2023


