Toilet paper tubes are one of the most common and versatile craft materials. They can be used in a variety of different crafts and in a variety of different ways.
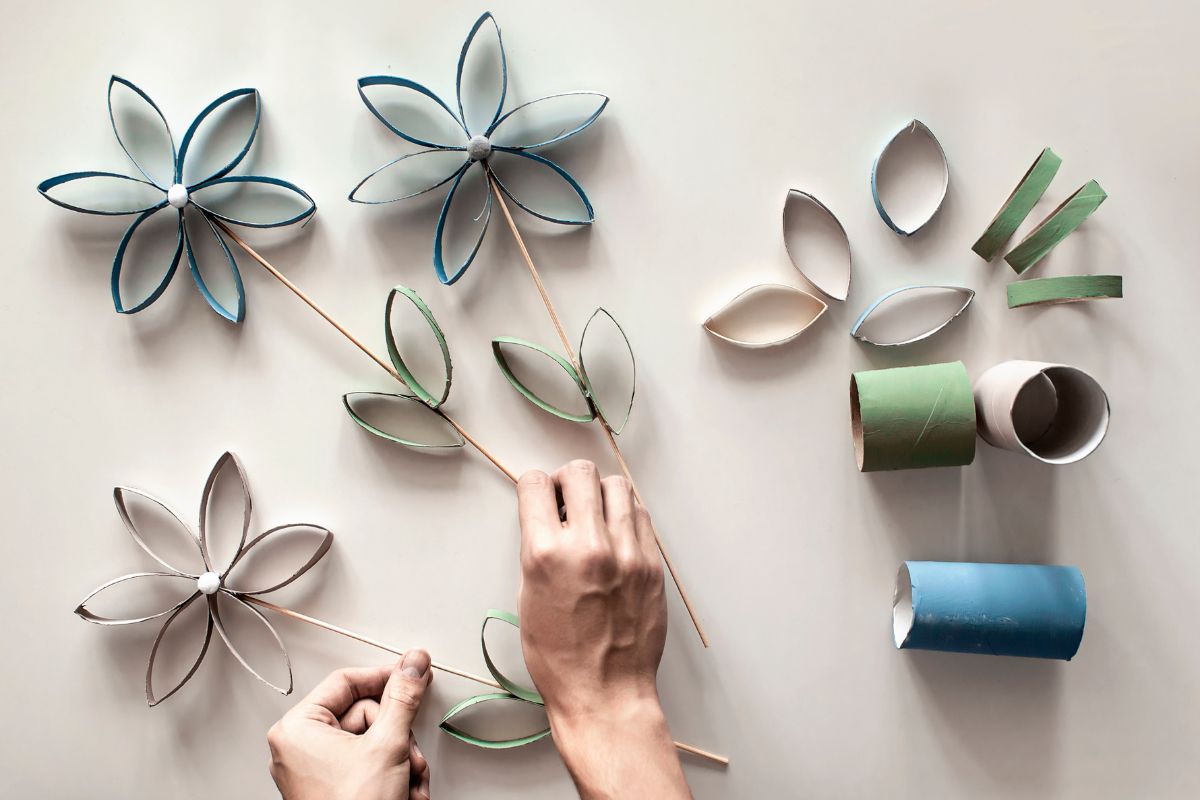
One less common, but no less effective way, is to use toilet paper tubes to make craft shapes. This is an easy process but it’ll give you so many new ways to incorporate toilet paper tubes into your crafts.
In this article, we will look at how to use toilet paper tubes to make craft shapes. We’ll also look at how to make the best shapes and what they can be used for.
What Can You Do With Toilet Paper Tube Shapes?
Toilet paper tube shapes are commonly used as stamps. This is pretty straightforward as you simply make your shape and then dip it into the paint to use it in the same way as any other stamp.
However, toilet paper tube shapes can be used in so many other ways as details in larger craft projects. Let’s look at some examples of using them in craft projects. Hopefully, this will get your own creative ideas flowing.
1. Basket
This craft makes a woven basket from toilet paper tube shapes. You will need a lot of evenly measured and cut ovals and these are then folded and woven together to make a traditional-looking basket.
When the basket is constructed, you can fold it so that it becomes a 3D shape that is stable enough to contain items. Once it’s painted and sealed, nobody would believe that it was made from toilet paper tubes.
2. Flower Of Life Wall Decor
If you need an art piece for your wall but are running out of ideas, why not make one out of toilet paper tube shapes? This might not sound appealing, but once you see this flower of life design you’re sure to change your mind.
The art piece consists of several flowers arranged together. Each flower is made from six oval shapes glued together which are then surrounded by another six ovals.
These surrounding ovals then become the petals of other flowers. It looks a little complicated but as you work through the design it will make more sense.
3. Snowflakes
These snowflakes make great use of some of the more interesting and intricate shapes you can make from toilet paper roll shapes. You’ll need to have your hot glue gun at hand both for making the shapes themselves and also for making the snowflakes.
There are a large number of different snowflakes that you can make and the tutorial gives you several examples. Once you understand the method, however, you can make your own as well.
4. Toilet Paper Roll Mirror And Wall Art
This craft uses a large number of toilet paper tube shapes to make a beautiful surround and wall art for a mirror. From a distance, it looks very complicated and elegant, but you can see how it works from the close-up photos.
The main designs are just four oval shapes glued together to form a circle. These are then stuck around a circular mirror and built up in a couple of layers. When painted, it makes it hard to believe that this is made from toilet paper tubes!
How To Use Toilet Paper Tubes To Make Craft Shapes
Let’s begin by jumping straight into our main topic. After this step-by-step guide, we will go through some more information that will help you to make the best craft shapes.
To do this, you’ll need:
- Cardboard tubes
- Ruler
- Pencil
- Scissors
Step One
Take the tubes you want to use for your craft shafts and flatten them. You don’t need to fold harsh creases in them, but they should be flat enough to measure and write on.
Step Two
Use your pencil and ruler to divide the flattened tubes into sections across the width of the tube, not the length. Each section should be around 0.6 inches (1.5 cm) wide.
Step Three
Using your scissors, cut along the lines you just marked out so that you have several sections. They should be complete circles and it doesn’t matter if they’re still a little bent from how you folded them earlier.
Step Four
Take a section at a time and begin to shape them as you wish.
How To Shape The Sections
There are numerous methods you can use to create shapes out of your paper tube sections.
The easiest way to create shapes is just to use your fingers. You can fold and bend the tube sections as you wish to make whatever shapes you want.
You can also get creative, however! Look for items that you can use to bend the sections as well. You can use thin bottles to make your tubes circular and thick sharpies will help you make curves.
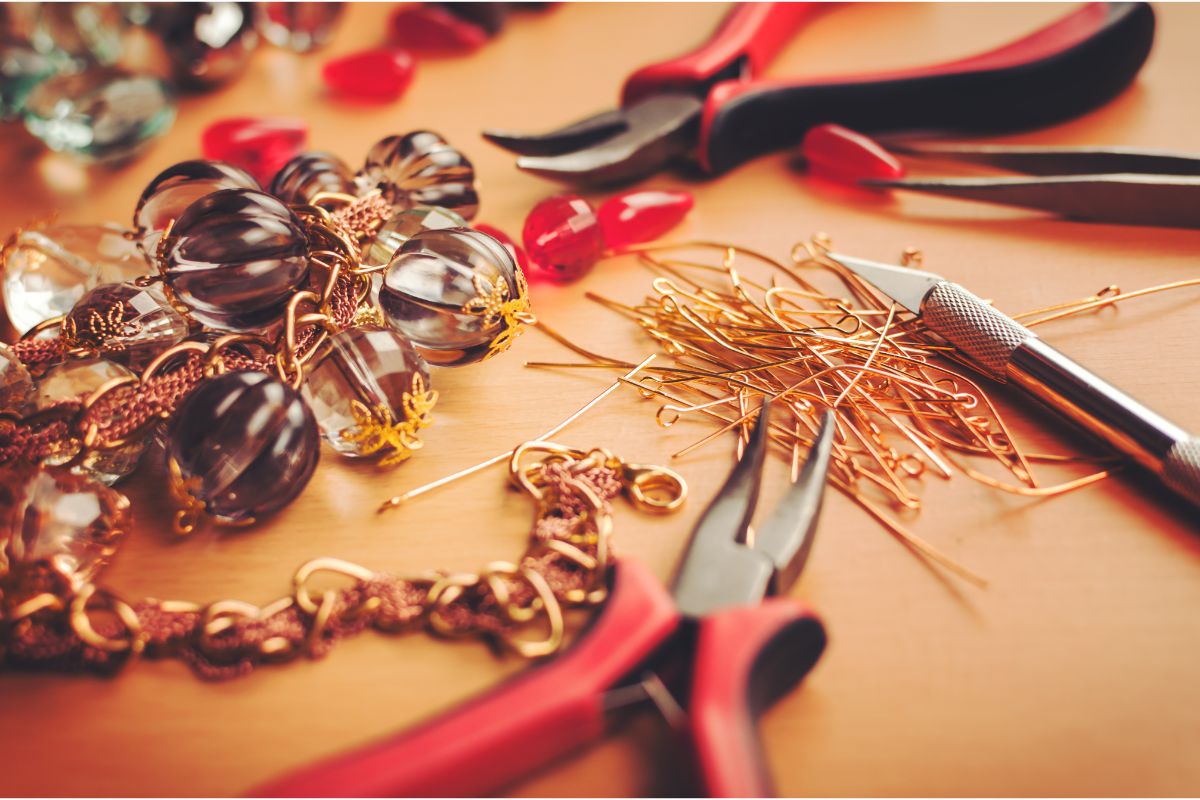
Sharp right angles can easily be made by bending your tube sections over small cardboard boxes and you can even use pliers to get sharp corners of different angles.
When you do use other tools, you will need to be careful that you don’t put too much pressure on the cardboard tubes. Some pliers, for example, can be sharp or apply a lot of pressure, which can lead to rips or crinkles in the cardboard that you don’t need.
Remember, you don’t need to keep your sections in one, circular or square shape, either. You can easily bend your tubes into all sorts of interesting shapes and then keep them in place with a stapler or hot glue gun.
What Shapes Can I Make?
When it comes to the shapes that you can make from cardboard tubes, the sky is really the limit!
Some of the more obvious options include basic shapes such as:
- Circles
- Squares
- Rectangles
- Triangles
- Hearts
- Crescents
- Teardrops
- Stars
- Pentagons
- Hexagons
- Infinity symbols
Making an infinity symbol is a great example of how a stapler can really expand your options. All you need to do is bend a section into a circle and then pinch it so that the two opposite sides meet in the middle.
You should now have two loops with a join in the middle. Use your stapler or hot glue gun to stick the two opposite sides together and secure the loops.
Other more interesting shapes you can make include:
- Flowers
- Leaves
- Blades of grass
- Swirls
- Waves
- Snowflakes
- Decorative borders
Most of these will require a little imagination and using your staple to get them into shape.
How To Choose The Best Cardboard Tubes For Crafting
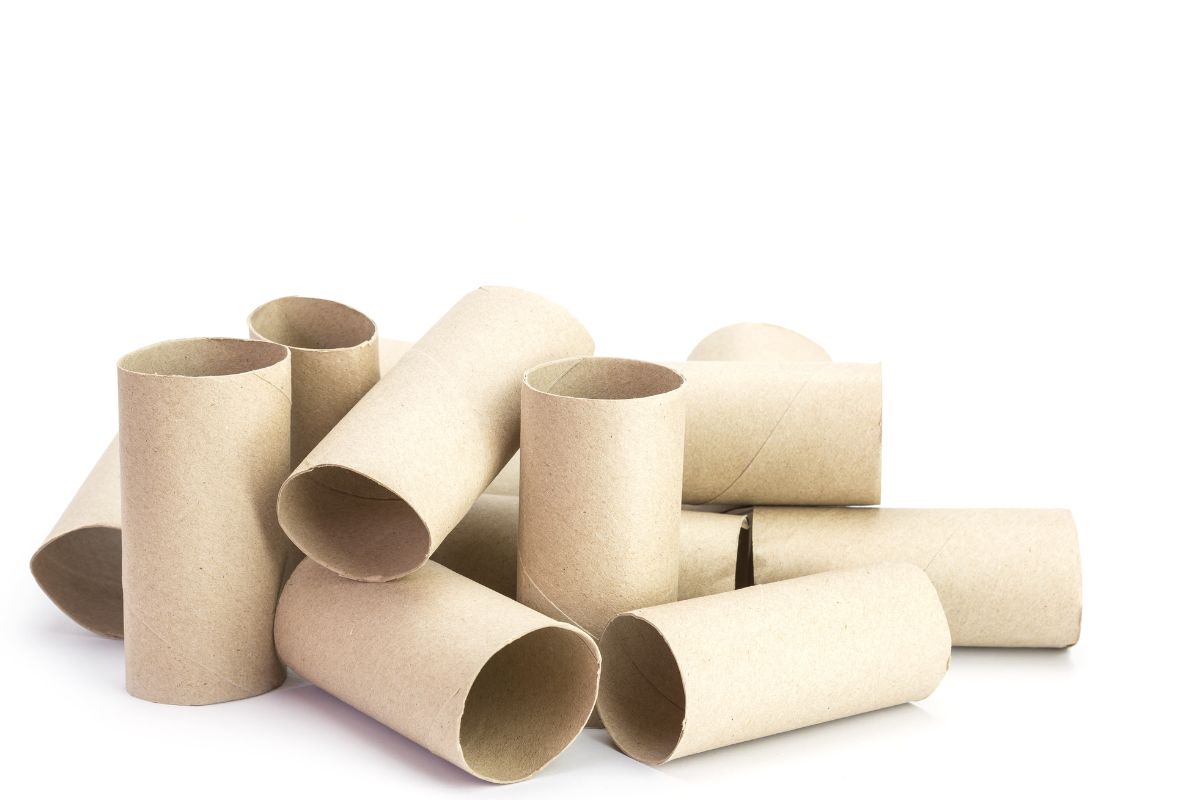
You can use any cardboard tubes for crafting. This includes toilet paper rolls, kitchen towel rolls, or any others that you may have in your home.
However, some cardboard tubes are better for crafting shapes than others and will perform better. You’ll find that they’ll be easier to work with and last longer, too.
In our experience the best cardboard tubes for crafting share the same few characteristics.
Good Thickness
The cardboard should be the right thickness. It’s difficult to define this in numbers, but you should try to find a cardboard tube that isn’t so thin that it just collapses, but isn’t so thick that you will have difficulty bending it into shape.
The cardboard needs to be easily bendable while also being thick enough to hold the shape once it’s been formed.
Finding the best thickness of cardboard can be a trial and error procedure. If you find that your tubes don’t hold their shape or can’t be bent easily, however, try a different tube.
No Smudges
It’s best to use cardboard tubes that aren’t stained or smudged in any way. If they’re stained and smudged it can affect how you use the shapes and can even be a sign of damage to the cardboard.
If the cardboard is damaged and has weaker spots, it won’t hold together as well or bend as easily.
No Separated Layers
Many cardboard tubes are constructed in a way that sees them built from spiraling layers of cardboard. These layers are usually pretty thin and they overlap each other in a way that makes the tube thicker and more substantial.
Although these types of cardboard tubes can be used for many different craft purposes, they’re not suitable for making craft shapes.
You need solid tubes that will stay together without splitting when they’re cut into slices. Unfortunately, the layered tubes tend to fall apart when you cut them.
You could glue the layers together, but this gets messy and won’t be as neat and easy to use as shapes made from solid tubes.
Tips For Creating The Best Shapes
Now that we know how to pick the best cardboard tubes for our shapes, let’s look at how we can make sure that the shapes themselves are the best they can be.
Cut Effectively
Make sure that your scissors are big enough and sharp enough to make nice, clean cuts through the cardboard tube.
You need to ensure that you have a firm hold of the flattened tube as you cut and that the two sides are firmly pressed together. Having uneven sides or messy cuts will limit the uses of your shapes and will probably result in throwing them in the trash.
If you have difficulty keeping hold of the tube and pressing the sides together, you can use a clip to keep the tube together. Make sure that the clip has a firm grip and place it so that you can cut along the lines without having to move it.
You may need to reposition the clip after every section has been cut.
Assembling Your Shapes
It’s best to use glue and methods that dry as quickly as possible. Staples are great for this but you need to be careful that the staples don’t reach over the ends of your shapes.
We found that the best type of glue to use is the glue that comes from a hot glue gun. This glue is not only very sticky, but it dries a lot more quickly than some other glues do.
If you do use a hot glue gun and you’re making shapes with kids, make sure that you’re careful with the glue.
If you use a slower drying glue, you might want to clip the shape so that it remains in place while it dries. This will keep the shape in place and prevent it from moving while it dries.
Final Thoughts
In this article, we looked at how to use toilet paper tubes to make shapes. We gave some examples of crafts that use these shapes to show how versatile they can be.
We also explained how to make the shapes and gave some hints and tips to make the best shapes you can.
- Cricut Hat Press: A Comprehensive Guide on Usage - August 13, 2023
- Unlocking Creativity with the Cricut Joy: A Comprehensive Guide - August 12, 2023
- The Ultimate Guide to the Cricut Maker Bundle - August 11, 2023

